












































Set up LinkHarbor as an app or connector in ChatGPT: enter the server URL, sign in with OAuth and approve access for one workspace.
ChatGPT can add custom MCP servers as an app or connector. That lets you edit your LinkHarbor pages straight from the chat. Setup takes a few minutes: enter the URL, sign in, approve access.
Requirements
- A LinkHarbor account (any plan, including Creator Free)
- A ChatGPT account in which custom connectors or developer mode are available
- The server URL: https://dock.at-harbor.com/mcp
Whether and where you can create custom connectors depends on your ChatGPT plan and, for team or company accounts, on your admins' settings.
Create the connector in ChatGPT
- Open the settings in ChatGPT
- Find the section for apps or connectors and, within it, the advanced settings
- Turn on developer mode if it is required
- Create a new connector and give it a name, for example “LinkHarbor”
- Enter https://dock.at-harbor.com/mcp as the MCP server URL
- Choose OAuth as the authentication method and save
- Start the connection – the LinkHarbor sign-in opens
Approve access
After logging in to LinkHarbor, you see the consent page. Choose the workspace under “Workspace”, tick the boxes under “Permissions” and click “Allow”. You are then taken back to ChatGPT automatically.
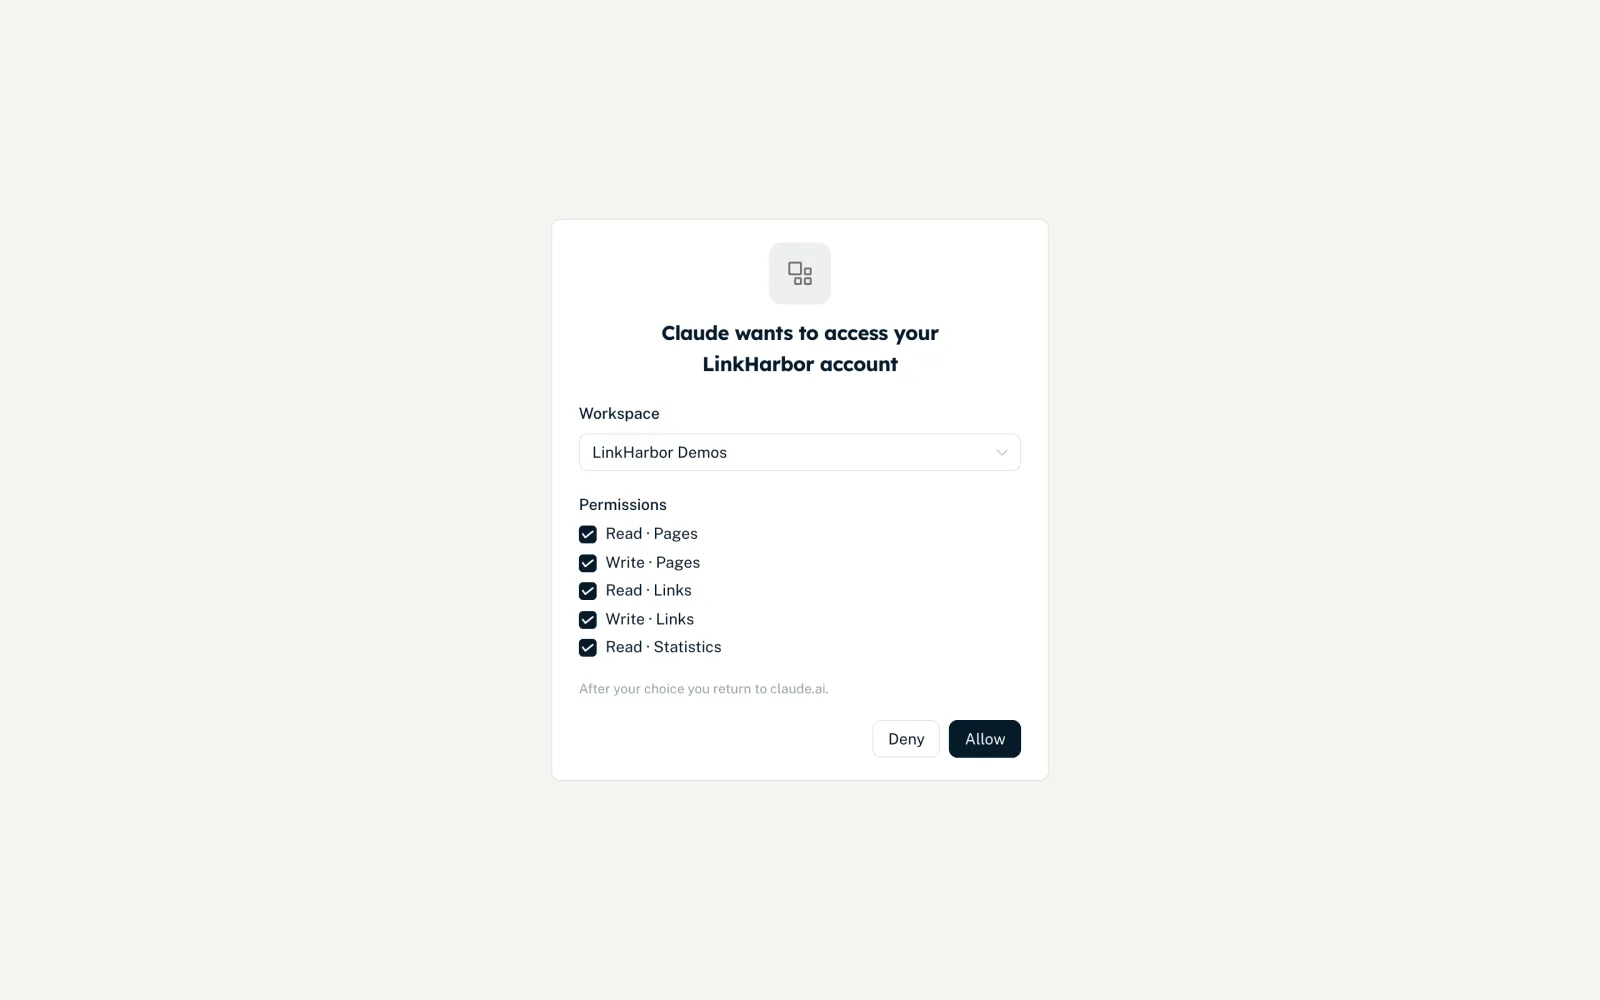
All fields of the consent page are explained in Connecting Claude – they look exactly the same for ChatGPT.
Using it in chat
- Start a new chat
- Turn on the LinkHarbor connector in the chat (depending on the interface, via the plus or tools menu)
- Enter your request, for example “List my LinkHarbor pages”
- Confirm actions when ChatGPT asks
Tools that publish, delete or change the visibility are marked as consequential. ChatGPT usually asks before carrying out such actions.
Common pitfalls
- Connector option missing
- Your ChatGPT plan or your organisation does not allow custom connectors. LinkHarbor cannot change that.
- “This sign-in request has expired …”
- You have to approve within 10 minutes. Start the connection again in ChatGPT.
- ChatGPT does not know a tool
- The matching permission is missing. Disconnect under “Callback & API” → “Connected apps” and connect again with the right boxes ticked.
- Connection gone after a long break
- If a connection is not used for 90 days, it expires. Simply connect again.
Manage and disconnect the connection
Your ChatGPT connection appears in the dashboard under “Callback & API” in the “Connected apps” card – with the workspace, the permissions granted and when it was last used. “Disconnect” removes ChatGPT's access immediately. You can then also remove the connector in the ChatGPT settings.
If you want different permissions or a different workspace, disconnect and connect ChatGPT again. For a second workspace, you create another connection. All the details are in Permissions, security and limits.
You might also find this useful
Nothing found?
Tell us what you need, and our support team will help you personally.